Using your battery and bulb.
Connect a piece of wire to the metal side of the bulb and from there to the positive (+) contact on the battery.
Connect the second piece of wire to the negative (-) contact on the battery.
This will leave you with a free end of wire.
Before you start check your test equipment works.
Touch the free end of wire to the contact on the bulb, the bulb should light.
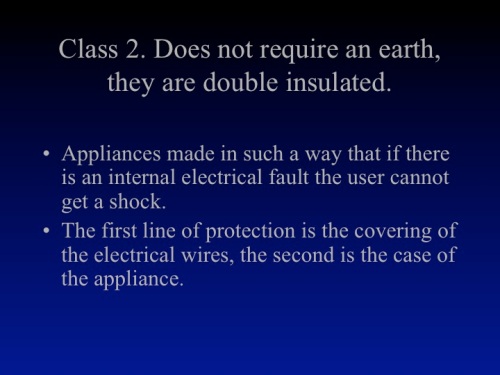
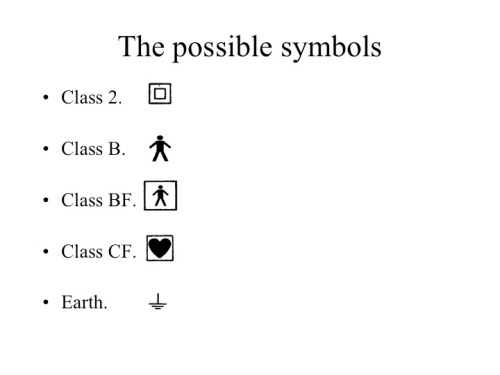
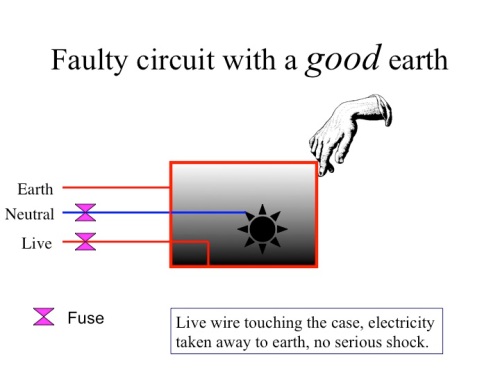
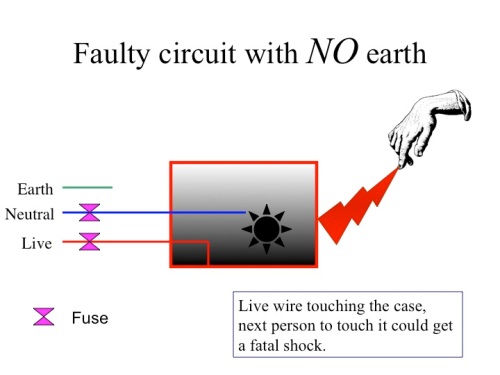
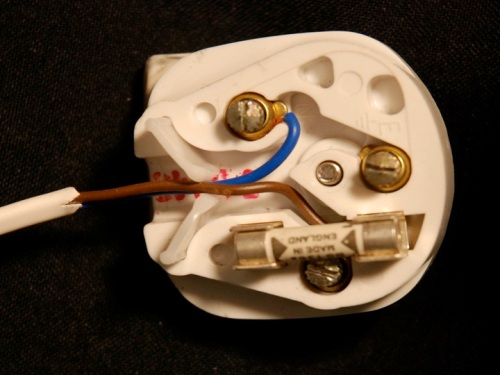
To test the earthing on a piece of class 1 equipment, connect the free end of wire to the earth pin on the plug (the one in the middle), touch the contact on the bulb to the metal parts of the equipment under test.
If there is an electrical path from the earth pin through the mains cable to the metal body of the equipment, the bulb will light up.
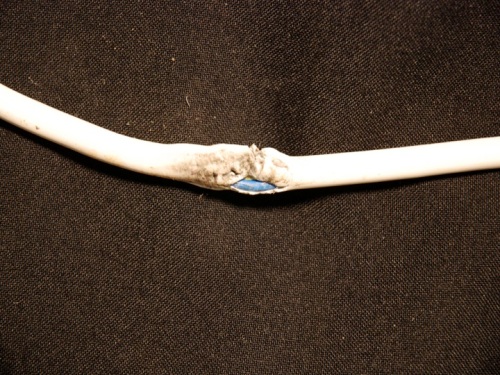
If it does not light up there is a problem with the earth, either it is not there or it is a very high resistance. Investigate the inside of the plug, and if you feel happy to do so, the inside of the equipment.
Think about the matter logically and try and find where the earth path has got broken, but if in any doubt try to find an electrician in the local town.
As a bonus, you can use this arrangement to test fuses and other light bulbs like those in your laryngoscope or ophthalmoscope.
